
- Use room temperature eggs – They incorporate more easily into the dough.
- Don’t skip the drying step – Cooking the dough briefly on the stove helps create structure and improves rise.
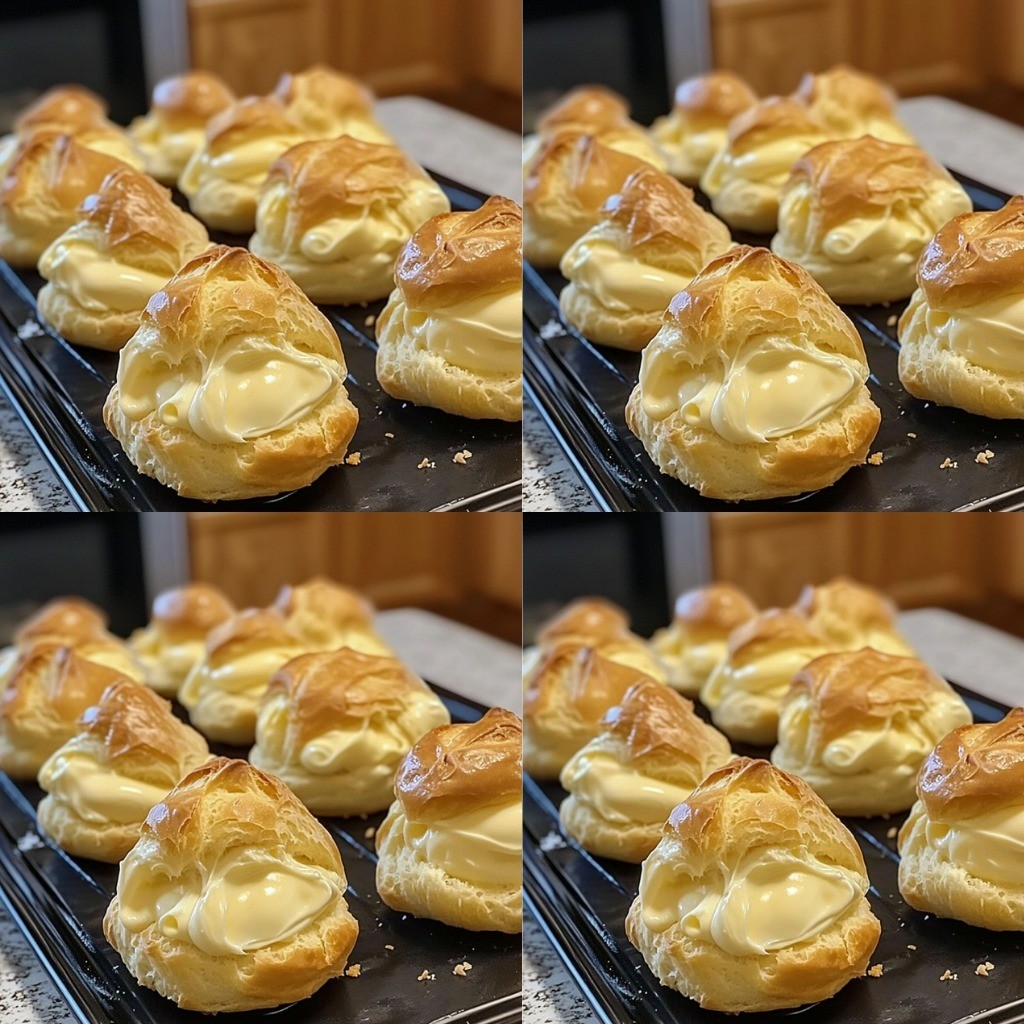
- Avoid opening the oven too early – The steam inside is what makes the puffs rise.
- Cool completely before filling – Otherwise, the filling may melt or make the puffs soggy.
- Store unfilled puffs in an airtight container – They stay crisp for up to 3 days or can be frozen for a month.
Creative Ways to Serve Your Cream Puffs
Once you’ve mastered the basic cream puff, the sky’s the limit! Here are some delicious ways to enjoy them:
 Chocolate-Dipped Cream Puffs
Dip cooled puffs in melted chocolate and let them set on wax paper.
 Strawberry Shortcake Puffs
Fill with whipped cream and fresh strawberries for a fruity twist.
 Ice Cream Sandwiches
Split the puffs in half and sandwich with your favorite ice cream. Freeze and serve as mini ice cream treats!
 Mini Cream Puff Tower
Stack filled puffs with caramel or chocolate sauce for an impressive centerpiece.
 Coffee or Tea Pairing Treats
Serve plain or lightly dusted with powdered sugar alongside your morning coffee or tea.
Frequently Asked Questions (FAQs)
Q: Can I make the dough ahead of time?
A: Yes! You can refrigerate the dough overnight and bake it fresh when ready.
Q: Why did my cream puffs collapse?
A: Opening the oven too early or under-baking can cause them to deflate. Be patient and avoid peeking!
Q: Can I make gluten-free cream puffs?
A: Yes! Substitute regular flour with a 1:1 gluten-free flour blend.
Q: How do I keep the puffs crispy after baking?
A: Store them in an airtight container once completely cooled. Re-crisp in the oven if needed.
Q: What if I don’t have a piping bag?
A: No problem! Use a spoon or even a ziplock bag with the corner cut off.
Final Thoughts
These Easy Cream Puffs prove that gourmet desserts don’t have to be complicated. With just a few simple ingredients and a little patience, you can create bakery-quality treats right in your own kitchen.
Whether you’re new to baking or a seasoned pro, this recipe is a must-try. So grab your ingredients, preheat your oven, and get ready to impress with these light-as-air, creamy delights!